New: Collaborate Online and Offline with Overleaf and Git (beta)
John · January 15, 2015Overleaf's git integration is also now available in Overleaf v2. Note that the format of git remotes has changed in Overleaf v2 — please see the message that you will receive if you are still using Overleaf v1-style git remotes like the ones in this blog post.
One of your most requested features - a link between Overleaf and Git - is now available in beta release. You can now clone any project on Overleaf (including protected projects) using its link, with 'git' instead of 'www', e.g.:
git clone https://git.overleaf.com/2029559gkypzxThe other direction also works: once you've git pull'd the latest changes from Overleaf into your repo, you can git push to our remote, in the usual way, and everything will update online. See below for detailed instructions.
The overleaf-git bridge was written by a great group of students from Imperial (with a bit of help from us and their academic supervisor, Dr Anandha Gopalan) — you can read their thoughts at the foot of this blog post — and it's an open source server that talks to our API: https://github.com/winstonli/writelatex-git-bridge.
How do I use Git with Overleaf?
If you're asking this question, then hopefully you already know what Git is! If not you can view the official 'Gettting Started' page here. Overleaf's Git Bridge provides a way of keeping your projects offline and being able to work from the comfort of your own command line. Here's how to use a Git repository for your project:
1. Create a Project on Overleaf
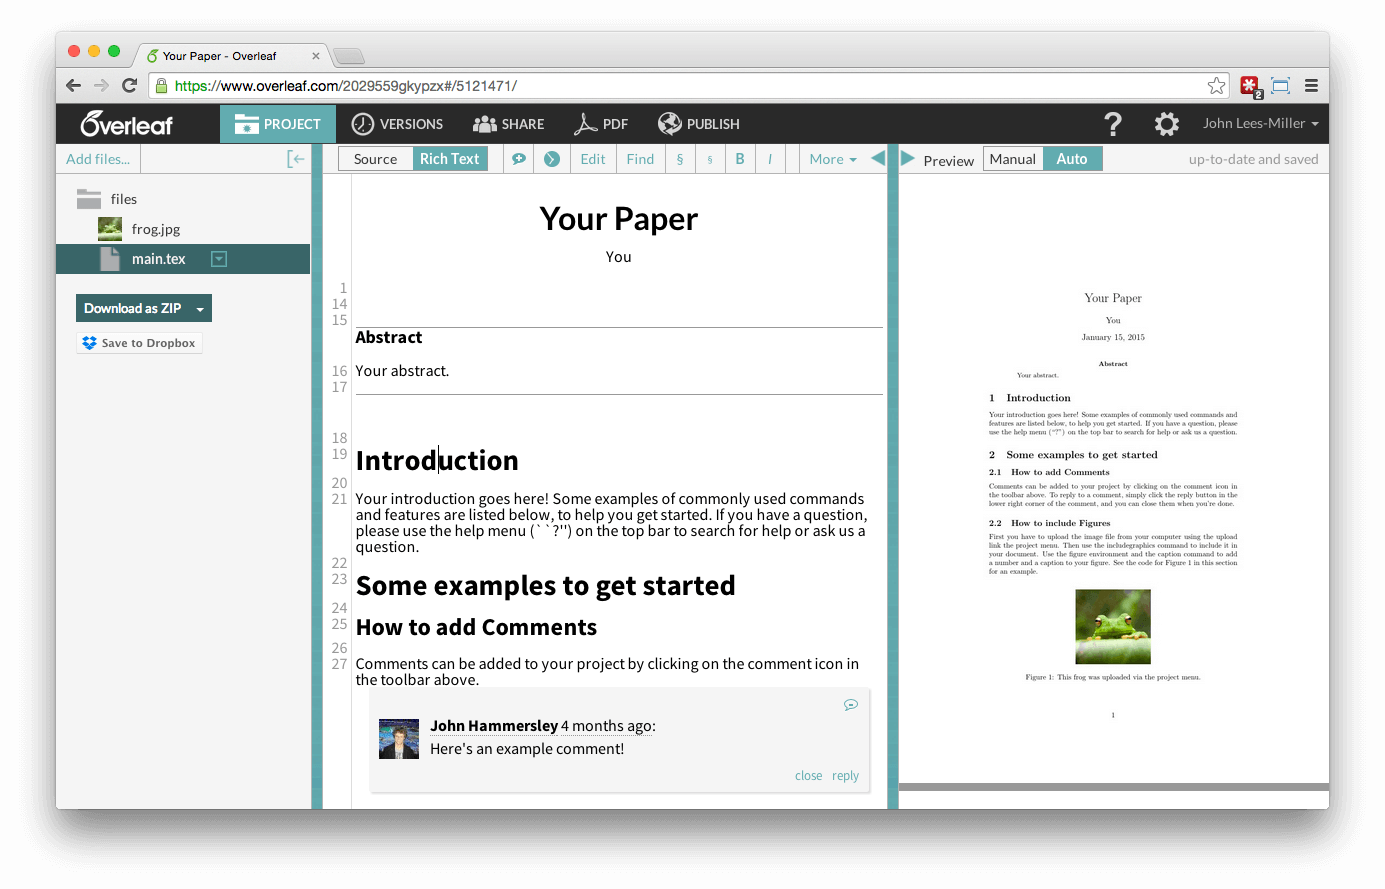
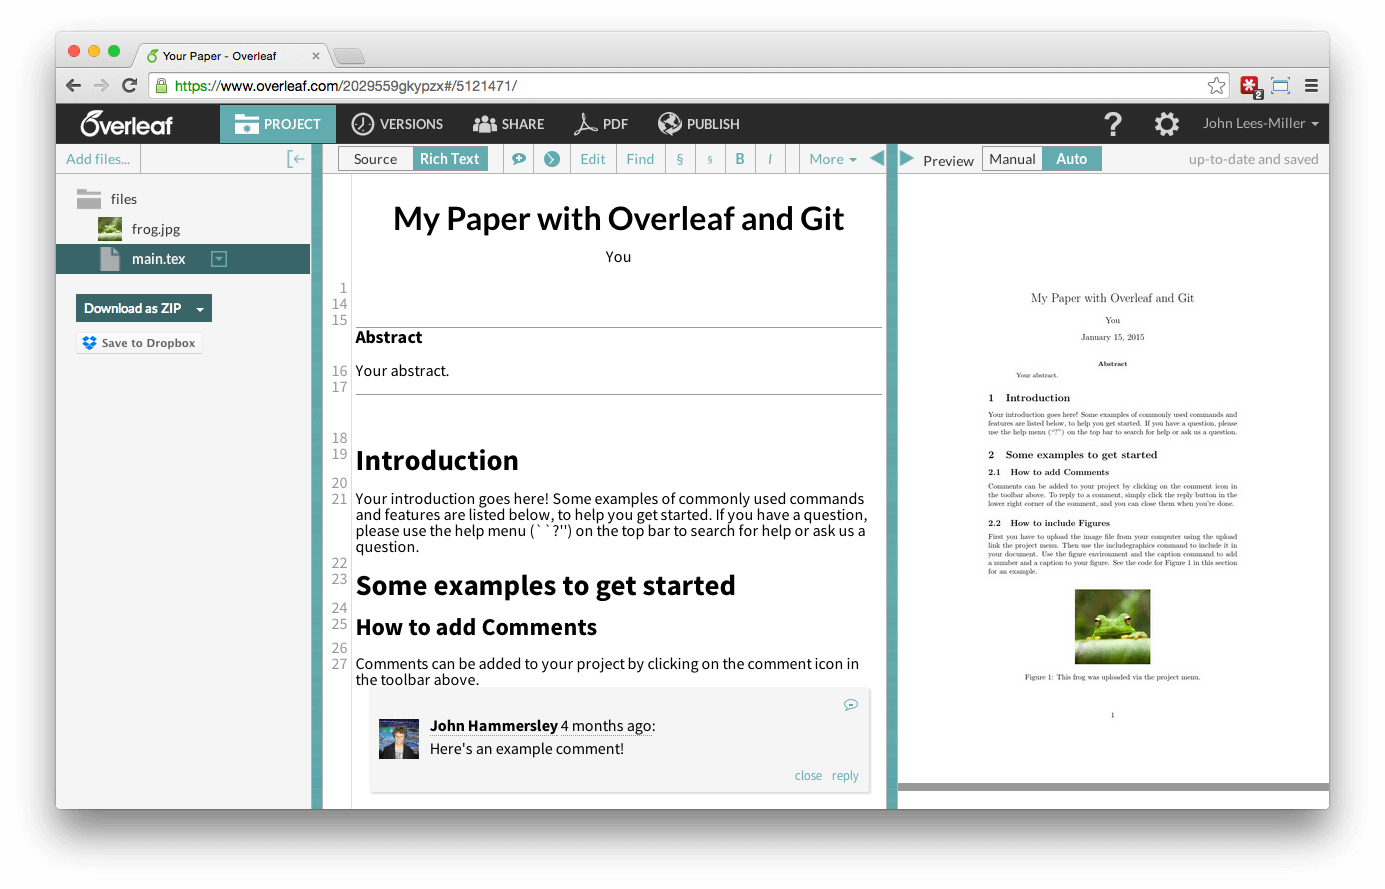
First you'll need a project on Overleaf — you can create a new project or use one of your existing projects. We'll use this example project:
2. Find the Git Link for your Project
Every project on Overleaf has a secret 'read and edit' link, which you can find in the share menu. The git link for your project is the same as the link you use to access your project via your browser, but with git instead of www in the link.

In this case, the project link is https://www.overleaf.com/2029559gkypzx, so its git link is https://git.overleaf.com/2029559gkypzx.
3. Clone your Project with Git
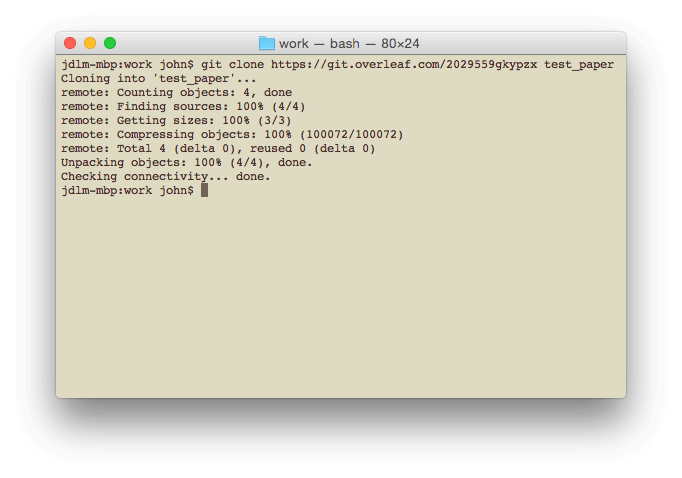
Now we're ready to git clone the project on Overleaf. Here we'll clone it into a directory called test_paper with the command
git clone https://git.overleaf.com/2029559gkypzx test_paper
4. Edit your Project and Commit your Changes
Now that you've cloned your project, you can edit it using whatever tools you like and commit your changes with the git commit command, as usual when working with git.
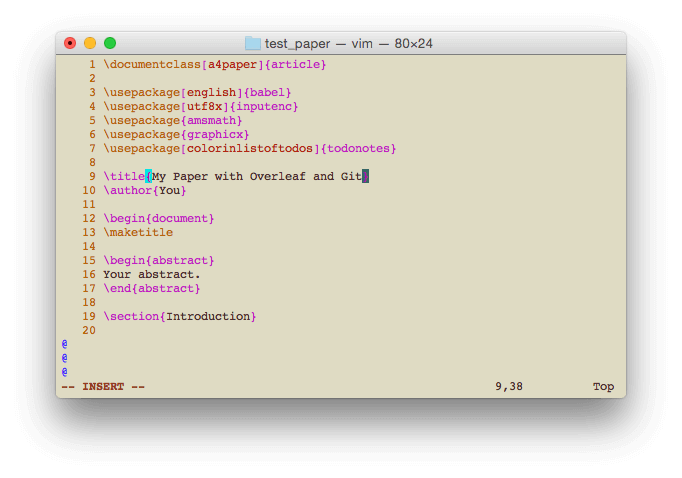
You can also add and remove files to / from your project and commit them, as you'd expect. Note that you'll still have to stick to Overleaf's rules for naming files, which avoid problems when moving your code between operating systems and editors (e.g. no spaces in file names). You'll be told about any naming issues (and project size restrictions, etc.) when you try to push your changes.
5. Push your Changes to Overleaf
When ready, push your changes back to Overleaf using the git push origin master command.
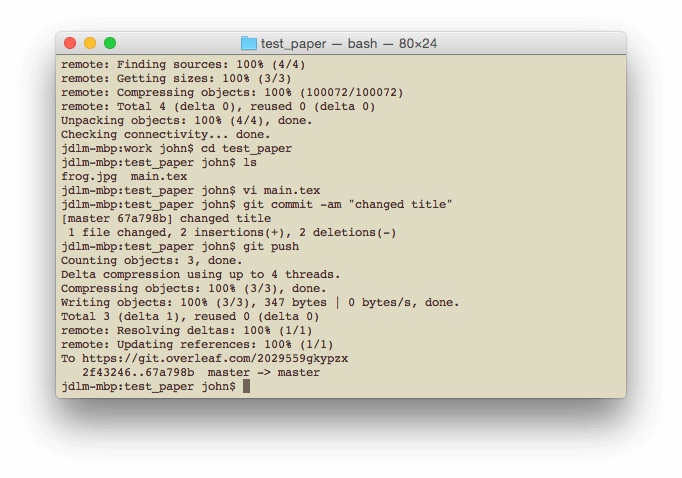
Note that if changes have been made to your project on Overleaf while you've been working offline, you will be notified when you try to git push. Don't panic! You just have to git pull the changes from Overleaf before you can git push your changes to Overleaf. If there are any merge conflicts, you'll have to resolve them locally before you can push your changes to Overleaf. It's a good idea to pull and push regularly to avoid merge conflicts, particularly if you have a lot of authors working on an Overleaf project.
It's also worth noting that you can use whatever git branching model you like locally, but you can only push changes to the master branch on Overleaf.
One you've pushed your changes, they'll automatically appear online!
Using Graphical Git Clients
The Overleaf git bridge is also compatible with graphical Git tools, which are a great way to get you (and your coauthors) started with Git, without some of the complexity that comes from using the command line. For example, once you have cloned a repo as above, you can open it in GitHub for Mac (or GitHub for Windows) and use it to make commits and view your project's history:
We hope this will be a useful feature for many of you, and any further issues or questions can be directed to us via our contact page. Enjoy!
Frequently Asked Questions
Can I import my existing git repo into Overleaf?
Yes, you can set Overleaf up as a remote on your existing repository and push your changes to Overleaf, just like you would to GitHub or BitBucket.
Can I use Overleaf with a project hosted on GitHub?
Yes, you can set Overleaf up as a remote or as a submodule. Each project on Overleaf gets its own git repo, so submodules can be helpful if you would like to manage several Overleaf projects in one git repo on GitHub.
Can I access a git project shared with me via link sharing?
Yes, once you visit the project in your browser. You can't use the link sharing link directly with git, but you can find the git link in the Menu when you open the project online.
How do I log in via git?
When you try to git pull from or git push to Overleaf, you will be asked to sign in using your Overleaf user name (your email address) and password. Please note that if you signed up using another provider, such as Google or Twitter, you will need to set an Overleaf password first. You can do this via your settings. The same access controls apply whether users access a project via the git bridge or via the web interface.
To avoid having to enter your credentials every time, you can configure your git client to remember them, either permanently or for a limited time. There are several options depending on your platform. Please see this help article from GitHub for more information. Please note that SSH key access is not supported on Overleaf.
Please note that some older versions of the git client do not support authentication. If authentication via git does not work for you, and git --version is less than 2, you should upgrade your git client to version 2 or later.
What about file encodings and line endings?
Overleaf uses UTF-8 encoding and unix-style (\n) line endings internally, but git can convert line endings automatically. See this article for more about file encodings and line endings.
What about empty folders?
Overleaf allows you to have empty folders in your projects, but git does not allow empty folders in its repos. If you move or rename folders using git, you may find that empty folders still remain in your Overleaf project. If you would like to keep empty folders on both Overleaf and git, you should add an empty file to each folder you would like to keep, which is conventionally named .keep. If you would like to remove the empty folders from Overleaf, you have to do this manually, at present.
About the Imperial Student Team
By Ben Anuworakarn, third-year CS undergraduate at Imperial College London
The six of us — Winston Li, Ben Anuworakarn, Alex Lown, Alex Mousafeiris, Zain Sekha and Jit Yap — are Computing students at Imperial College London, all currently in the third year of our course. Part of our Winter Term this year consisted of a large group project involving building a product on our own, applying the various ideas and concepts we've learned so far, ranging from programming styles and problem solving, all the way to software engineering practices and design decisions.
It's been quite a journey for us, both mentally and physically (Overleaf's offices are quite far from campus)! This project was unlike any coursework we've ever worked on, as we can really see the fruits of our labour being used by people online. It was a surprisingly deep project that required the understanding of a lot of things that we normally take for granted, and all of us had to be on the same page to ensure a successful project.
That said, all the hurdles we've come across along the way have only helped to make us better programmers. It was great working with Overleaf, given that we've used their service so much, and in the end, we're really happy with this product and hope everyone enjoys it as much as we did creating it!